

Key Takeaways
- A balanced compost pile needs roughly equal parts green (nitrogen-rich) and brown (carbon-rich) materials.
- Moisture, airflow, and particle size are the three variables that most directly control decomposition speed.
- Meat, dairy, oily foods, and diseased plants should stay out of a home compost system.
- Finished compost looks and smells like dark, crumbly soil - not rotting food.
- Compost can be ready in as little as two months with active management, or up to a year passively.
- Finished compost improves soil structure, feeds beneficial microbes, and reduces garden water needs.
What you will need
Why Composting Is Worth the Setup
Composting is one of the most practical things a home gardener can do. Rather than sending vegetable peels, coffee grounds, and yard clippings to the landfill, you redirect them into a biological process that produces finished compost - a dark, crumbly, soil-like material packed with beneficial microorganisms and slow-release nutrients.
If you're already working toward a productive outdoor space - whether that's a vegetable garden from scratch or a collection of pots and planters - finished compost is one of the most effective amendments you can work into your soil. It improves drainage in clay-heavy soils, adds water retention to sandy ones, and feeds the microbial life that makes nutrients available to plant roots.
The process doesn't require expensive equipment or expert knowledge. What it does require is understanding a few core principles: the right mix of materials, adequate moisture, and enough oxygen to keep aerobic decomposition running smoothly.
What you will need
What Goes In - and What Stays Out
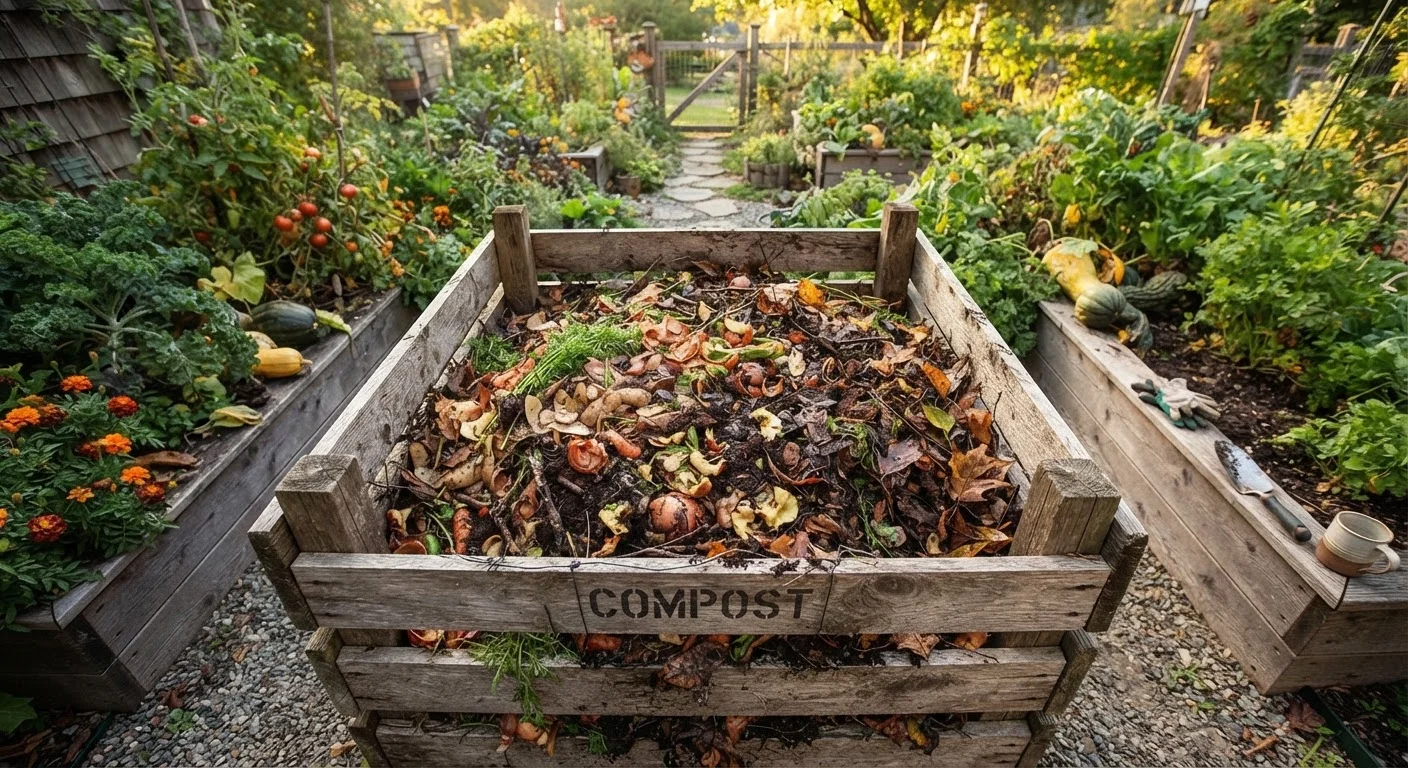
Compost materials fall into two broad categories. Greens are nitrogen-rich: vegetable and fruit scraps, coffee grounds and filters, tea bags (without staples), fresh grass clippings, and plant trimmings. Browns are carbon-rich: dry leaves, cardboard torn into small pieces, paper bags, straw, and wood chips. A healthy pile aims for a rough ratio of one part greens to two or three parts browns by volume.
Too many greens and the pile becomes wet and smelly. Too many browns and decomposition stalls. When in doubt, add more browns - they're usually easier to source and help keep odors under control.
Materials to Keep Out of Your Compost
Avoid adding meat, fish, bones, dairy products, and oily or heavily seasoned cooked foods - these attract pests and create persistent odors. Do not add diseased plants or weeds that have gone to seed, as typical home compost piles may not reach temperatures high enough to destroy pathogens and seeds reliably. Pet waste from dogs and cats also does not belong in a home compost system used for edible gardens.
As your composting habit develops, you may find it fits naturally into your broader garden rhythm. The seasonal garden maintenance checklist is a useful reference for timing when to turn the pile, when to apply finished compost, and how composting fits into spring soil preparation.
How to Set Up and Manage Your Pile
Choose a spot that gets partial shade, has good drainage, and is convenient to both your kitchen and garden beds - you'll be visiting it regularly. A 3-foot cube is considered the practical minimum to generate enough internal heat for active decomposition.
Garden fork or pitchfork
Used to turn and aerate the compost pile, introducing oxygen to speed decomposition.
Countertop compost bin
Collects kitchen scraps between trips to the outdoor pile, reducing how often you walk outside.
Wire mesh or wooden pallet bin
Provides structure to contain the pile while allowing airflow on all sides.
Garden hose or watering can
Maintains moisture levels in the pile during dry weather.
Compost thermometer
Monitors internal pile temperature to confirm active decomposition is occurring.
Choose your composting method
Decide between an open pile (low effort, slower), a DIY three-bin system (efficient and scalable), or a purchased tumbler (faster, more contained). Open piles work for most yards but may attract wildlife. Tumblers reduce that risk and can speed decomposition but have limited capacity. For most beginners, a simple open bin made from wooden pallets or wire mesh is enough to get started.
Lay a foundation layer of browns
Start with a 4-6 inch layer of coarse brown material - straw, wood chips, or shredded cardboard - directly on the ground. This base layer allows airflow from below and helps with drainage. Avoid placing the pile on concrete or paving, where drainage is blocked.
Add greens and browns in alternating layers
Layer your kitchen scraps and fresh garden material (greens) in 2-3 inch layers, then cover with an equal or slightly thicker layer of browns. Repeat as materials become available. Shred or chop larger pieces - smaller particles decompose significantly faster. Bury food scraps in the center of the pile rather than leaving them exposed on top.
Maintain the right moisture level
Your pile should feel like a wrung-out sponge - moist throughout but not dripping. In dry conditions, water the pile lightly when you add materials. In heavy rain, cover the pile with a tarp or lid to prevent waterlogging, which drives out oxygen and creates anaerobic conditions that produce unpleasant odors.
Turn the pile regularly
Use a garden fork or compost aerator to turn the pile every one to two weeks for active decomposition, or every four to six weeks if you prefer a lower-effort approach. Turning introduces oxygen, which feeds the aerobic bacteria doing most of the decomposition work. Move material from the cooler outer edges into the center, where temperatures are highest.
Speed Up Decomposition Noticeably
Three variables have the most impact on how fast your pile breaks down: particle size, moisture, and turning frequency. Chop materials small, keep the pile as moist as a wrung-out sponge, and turn it weekly. Combining all three can take a pile from a year-long passive process to finished compost in as little as eight weeks.
Knowing When Your Compost Is Ready
Finished compost looks like dark, crumbly soil and smells earthy - similar to a forest floor after rain. You should no longer be able to identify the original materials. If you can still spot vegetable peels or leaf fragments, give the pile more time and turn it again.
A simple readiness test: fill a small zip-top bag with a handful of your compost, seal it, and leave it at room temperature for a week. If it smells foul when you open it, it needs more time. If it still smells earthy or neutral, it's ready to use.
Apply finished compost as a 1-2 inch top dressing around established plants, mix it into planting holes, or blend it into potting mixes. Even if your harvest goes into raised beds or containers, the same finished product applies - see our guide on growing a kitchen herb garden for how to incorporate soil amendments into compact growing setups.
Don't Use Unfinished Compost on Plants
Applying compost that hasn't fully decomposed can harm plants rather than help them. Unfinished material continues breaking down in the soil, temporarily tying up nitrogen that roots need - a process called nitrogen drawdown. Wait until the material passes the readiness test described above before incorporating it into garden beds or containers.