

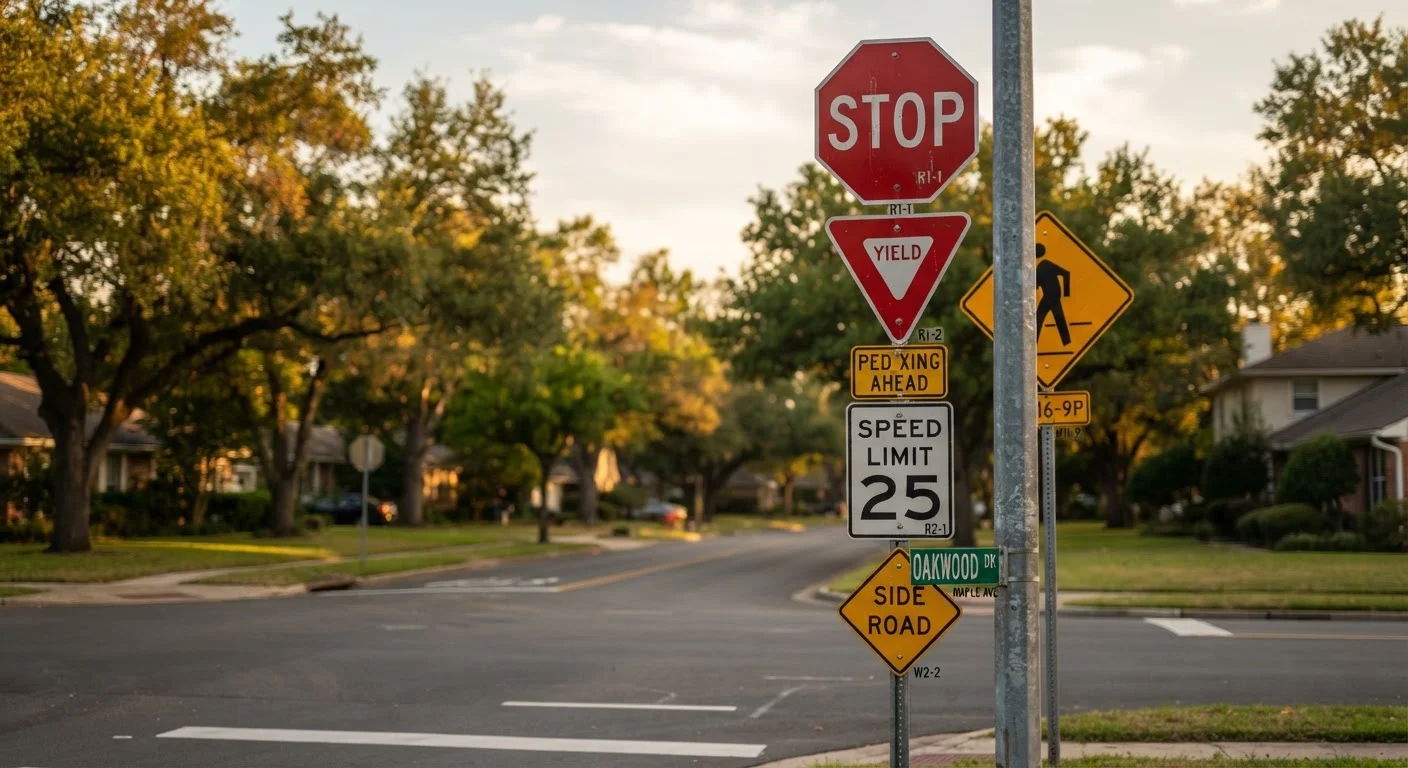
The Three Categories That Organize Every US Road Sign
The US road sign system - standardized through the MUTCD - organizes every sign into three functional categories: regulatory, warning, and informational (guide). Color and shape are your first clues before you're close enough to read the text.
Understanding these categories gives you a decision-making framework. A red octagon demands an immediate stop. A diamond-shaped yellow sign asks you to slow and prepare for a hazard. A green rectangular sign tells you where you're headed. Fluency with these patterns means you're processing signs faster than conscious reading allows - which matters at highway speeds.
If you're still building foundational driving knowledge, our first-time licensing guide covers where road sign knowledge fits into the licensing process.
Regulatory Signs: Commands You Must Obey
Regulatory signs communicate legal requirements. Violating them isn't just unsafe - it's a traffic offense. Here are the ones every driver must know cold:
- Stop (red octagon): Come to a complete stop before the stop line or crosswalk. Proceed only when the way is clear and it is your legal turn.
- Yield (downward-pointing red-and-white triangle): Slow down and give right-of-way to traffic or pedestrians in the intersection. Stop only if necessary.
- Speed Limit (white rectangle, black text): The posted number is the maximum legal speed under ideal conditions - not a target speed in bad weather.
- Do Not Enter / Wrong Way (red): You are approaching a one-way road from the wrong direction. Stop immediately and do not proceed.
- No U-Turn / No Left Turn: These black-and-white signs prohibit specific maneuvers at that location. The restriction applies even when the road appears clear.
- Keep Right / Keep Left: Directs lane position, commonly found at medians or highway splits.
For a deeper look at how regulatory signs interact with intersection behavior, see our guide on right-of-way rules at intersections and roundabouts.
Warning Signs: Hazards Ahead
Warning signs are diamond-shaped and typically yellow (or orange in work zones). They don't mandate a specific action but signal that a hazard requires heightened attention and usually reduced speed.
MUTCD
Manual on Uniform Traffic Control Devices - the federal standard governing the design, placement, and meaning of all traffic signs, signals, and road markings in the US.
Regulatory sign
A sign that communicates a legal requirement. Failure to comply is a traffic violation and can result in fines or license points.
Warning sign
A diamond-shaped sign (usually yellow) that alerts drivers to a hazard or change in road conditions ahead. It informs but does not issue a legal command.
Advisory speed
A recommended - not legally mandated - speed posted beneath some warning signs, indicating the safe speed to navigate the hazard under normal conditions.
HOV lane
High-Occupancy Vehicle lane reserved for vehicles carrying a minimum number of passengers, typically during peak commute hours. Rules vary by jurisdiction.
Work zone
A designated area where road construction or maintenance is active, marked by orange signs. Speed limits are reduced and fines are commonly increased in these areas.
- Curve / Winding Road: Geometry of the upcoming bend. Advisory speed plaques below these signs suggest safe cornering speeds - treat them seriously.
- Slippery When Wet: Pavement in this area loses traction significantly in rain. Slow down before reaching the zone.
- Deer Crossing / Animal Crossing: High animal-activity area. Scan road edges, especially at dawn and dusk.
- Divided Highway Begins / Ends: 'Begins' means a median is appearing - stay right. 'Ends' means oncoming traffic will share the roadway ahead.
- No Passing Zone (pennant-shaped, yellow): The only non-diamond warning sign shape. Mounted on the left side; passing is prohibited here.
- School Zone / Pedestrian Crossing: Pentagon-shaped for school zones specifically. Slow to posted speed and be prepared to stop for pedestrians.
- Work Zone (orange): Fines are typically doubled and speed limits reduced. Workers are present - treat it as an active hazard zone at all times.
Warning signs become especially critical in poor visibility. Our article on driving in rain, snow, and fog covers how to adapt when conditions make road hazards harder to see in time.
Guide Signs and Less-Known Signs Worth Memorizing
Guide signs - green for highways, blue for services, brown for recreation - give navigational and location information. They don't require action but help you plan lane position and exit timing well in advance.
Several less-familiar signs also deserve attention:
- Shared Lane Marking (sharrows): Pavement markings indicating cyclists may use the full lane. Expect and anticipate cyclists in these zones.
- HOV Lane (diamond symbol): Reserved for vehicles with a minimum occupant count during peak hours. Restrictions vary by corridor - check posted signs for local rules.
- Truck Route / No Trucks: Regulates commercial vehicle access on specific roads, often due to bridge weight limits or road conditions.
- End of Restriction: White rectangular sign with a diagonal slash through a previous restriction symbol - the rule no longer applies beyond this point.
~50%
Drivers who fail to recognize key signs in studies
Research published in transportation safety literature has found significant gaps in driver sign recognition, particularly for less-common regulatory signs.
900+
Distinct sign designs in the MUTCD
The Manual on Uniform Traffic Control Devices catalogs hundreds of standardized signs covering regulatory, warning, and guide functions across US roadways.
Keeping your sign knowledge current matters beyond the knowledge test. Before any extended drive, a quick vehicle and safety review is equally important - our road trip safety checklist walks you through both vehicle and situational readiness.