Key Takeaways
- Zoning organizes spaces by activity, not just by item type, creating more intuitive systems.
- Mapping your household's real daily habits is the essential first step before moving anything.
- Physical boundaries and visual cues help everyone in the home recognize and respect each zone.
- Even small or multi-use rooms can be successfully divided into functional sub-zones.
- Zone-based systems are easier to maintain because items always have a logical home.
What you will need
Why Zones Outperform Category-Based Organization
Most people organize by category: all books together, all cleaning supplies in one cabinet, all paperwork in one drawer. The problem is that categories reflect what items are, not how and where they're actually used. When a category-organized system meets real daily life, things migrate - and they rarely migrate back.
Zone-based organization flips this logic. Instead of asking "What type of thing is this?", it asks "What activity does this support, and where does that activity happen?" Items live where they're needed. Resetting the space is almost automatic because returning something means placing it back in the spot where you'll next reach for it.
This approach also scales gracefully. Whether you're working with a studio apartment or a multi-story house, the underlying principle - match storage to activity location - remains constant. Our room-by-room organization walkthrough offers complementary strategies for applying this logic to specific rooms in detail.
Use Activity, Not Furniture, to Define Zones
Zones should follow the activities that happen in your home, not the furniture you already own. A sofa doesn't automatically define a relaxation zone if the household consistently uses that spot to fold laundry or pay bills. Label zones by what you want to do there, then arrange the furniture and storage to support that function.
It's also worth examining some of the assumptions you might bring to this process. Many popular tidying beliefs actually undermine functional systems - our piece on home organization myths unpacks the most persistent ones.
Tools, Prerequisites, and Getting Started
Zoning a home doesn't require a major renovation or a large budget. The most important inputs are time and honest observation. Before you begin moving anything, review what you'll need:
What you will need
Measuring tape
Measure room dimensions accurately before planning zone boundaries and furniture placement.
Graph paper or free floor-plan app
Sketch zone layouts to scale before moving any furniture.
Painter's tape
Temporarily mark zone boundaries on the floor to test layouts without committing to them.
Sticky notes or label maker
Label storage containers and shelves so all household members know where things belong.
Area rugs
Define zone boundaries visually in open-plan spaces without using walls or dividers.
Don't Rearrange Before You Audit
Moving furniture or buying storage containers before mapping your actual habits is one of the most common and costly mistakes in home organization. Spend time observing how your household actually uses each space over several days before committing to any zone layout. Systems built around real behavior last far longer than those built around idealized routines.
With your audit notes in hand and your tools ready, follow the steps below to assign a clear purpose to every area of your home.
Audit how your household actually uses each space
Walk through your home and note what activities genuinely happen in each area - not what you wish happened there. Pay attention to surfaces that collect clutter: these are usually signals of an unmet zoning need. A pile of bags by the front door, for example, typically means a dedicated drop zone is missing rather than that the household is simply disorganized.
Write down every recurring activity you observe per room. Common activities include eating, working, schoolwork, exercise, reading, crafting, and watching media. This list becomes your zone inventory.
Group activities into logical zone categories
Once you have your activity list, cluster related activities together. Activities that share tools, noise levels, or timing naturally belong in the same zone. Quiet focused work and reading often pair well; cooking and meal prep are natural companions; kids' crafts and homework can share a creative zone if the tools overlap.
Aim for clarity over perfection. A zone labeled "morning routine" (coffee maker, vitamins, bags, keys) is more useful than one labeled "miscellaneous kitchen items."
Map zones onto your floor plan
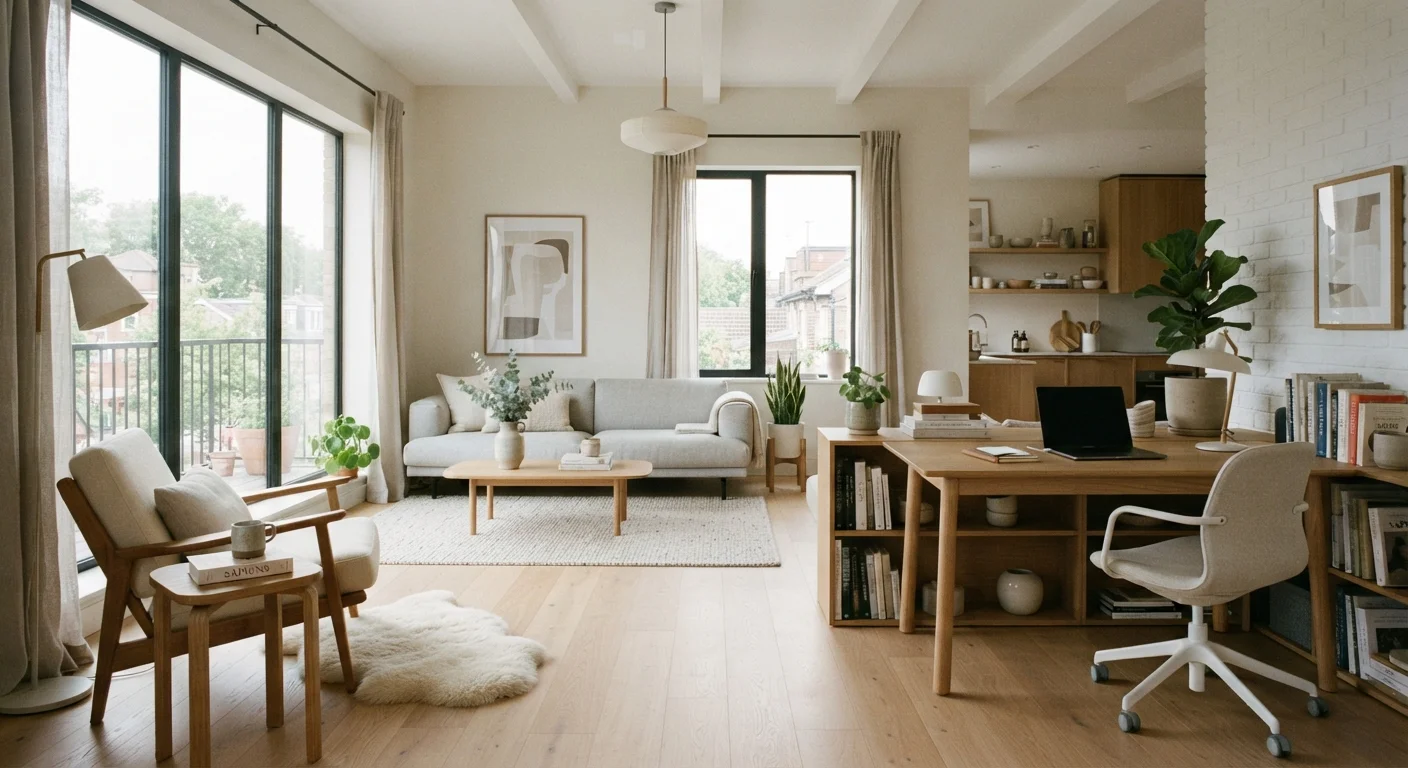
Sketch each room to scale on graph paper or using a free floor-plan app. Draw in your proposed zones, keeping traffic flow in mind - zones used most frequently should be easiest to reach. Zone boundaries don't need walls; a change in flooring material, an area rug, or a bookcase placed at an angle can visually separate areas in open-plan spaces.
Use painter's tape on the actual floor to test boundaries before moving anything. Living with a taped-out layout for a day or two reveals whether the proportions feel right.
Assign storage to each zone
Every item that belongs to a zone should be stored within that zone, or as close to it as your layout allows. This is the core principle that makes zone-based systems self-maintaining: when items live where they're used, returning them requires almost no effort.
Audit existing storage - shelves, cabinets, drawers - and reassign them by zone rather than by item type. A kitchen junk drawer reorganized as a "quick admin zone" (stamps, pens, notepad, batteries) suddenly becomes intuitive rather than chaotic.
Add visual boundaries and labels
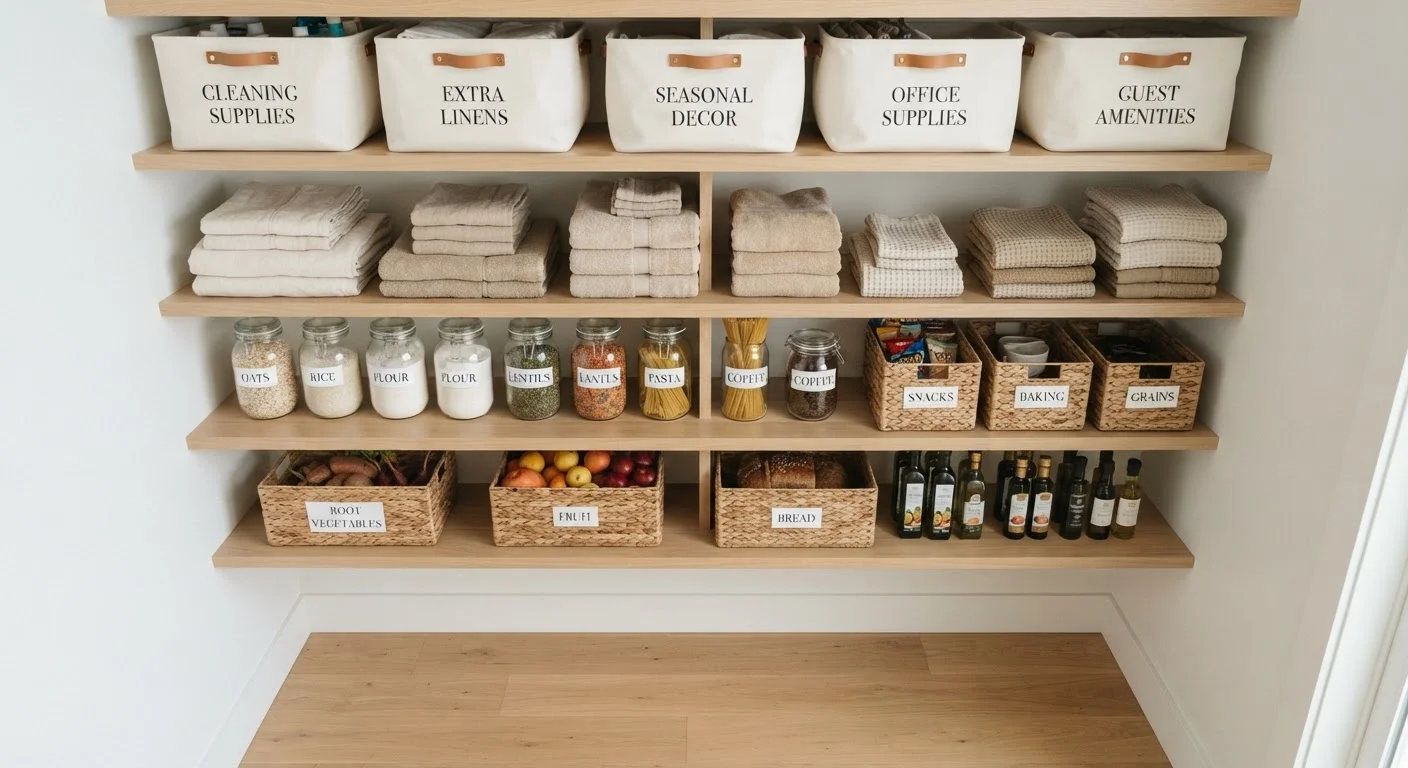
Physical and visual cues help everyone in the household recognize zones without being reminded. Use rugs, lighting, shelving, or color-coded bins to reinforce zone identity. Labels on shelves and containers remove the guesswork - especially useful in shared households or homes with children.
For guidance on getting other household members on board, see our article on organizing a home when everyone has different habits.
Test the layout and refine over two to four weeks
No zone plan survives first contact with real life unchanged. After two to four weeks, notice where items are consistently landing outside their assigned zones - this is data, not failure. It usually means either the zone boundary needs adjustment, the storage isn't convenient enough, or the activity clustering was slightly off.
Treat the first layout as a draft. Schedule a brief review using the annual home organization audit checklist once the system has settled, to catch anything that has quietly drifted.
Keeping Your Zone System Working Long-Term
Zone systems tend to degrade in predictable ways: a zone gets repurposed informally during a busy week and never reverts, or a new activity enters the household without a designated home and colonizes the nearest available surface. Neither is a system failure - both are normal household evolution that a brief periodic review can address.
Set a reminder every three to six months to walk through your zones and ask whether each one still reflects how the space is actually used. Households change - new work-from-home arrangements, a child aging out of certain activities, a hobby that has grown or faded - and zones should update to reflect that.
Avoid Over-Zoning Small Spaces
Assigning too many rigid zones in a studio or small apartment can create visual clutter and make the space feel smaller. In compact homes, aim for two to three flexible sub-zones per room rather than trying to replicate the room-count logic of a larger house. The principles that work in studios differ meaningfully from those in full-size homes.
For households where space is the primary constraint, the principles above hold, but the boundaries between zones will be thinner and more flexible. The key is that every recurring activity still has a designated spot, even if that spot is a single labeled bin on a shared shelf rather than a dedicated room.