Key Takeaways
- Rotate clothing, gear, and décor on a consistent seasonal schedule to prevent accumulation and lost items.
- Assess each category for condition and relevance before storing - not after retrieving.
- Clear labeling and consistent container sizes reduce the time cost of every future swap.
- Designating a dedicated staging zone prevents clutter from spreading room-to-room during transitions.
- Pairing each swap-out with a quick audit keeps your overall storage honest and manageable.
What you will need
Why Seasonal Transitions Breed Chaos
Seasonal swap-outs are one of the most predictable sources of household disorder, yet they catch most people off guard every time. The problem isn't volume - it's the absence of a repeatable process. Without a system, incoming items land wherever there's room, outgoing items get shoved without review, and storage areas slowly fill with things that don't quite belong anywhere. Over several cycles, closets and attics become archaeological sites rather than functional spaces.
A rotation system works not because it requires perfection, but because it creates a consistent decision framework. When you know exactly what happens at each transition - where items stage, how they're reviewed, how they're labeled - the cognitive load drops significantly. The process covered in this guide applies equally to clothing, seasonal gear (camping, sports, holiday decorating), and home décor. If you've found your home gradually accumulating things without a clear origin story, you may also benefit from reading common home organization myths that work against most people's instincts.
Schedule Swaps on Your Calendar
Treat seasonal transitions like an appointment rather than a whenever-I-get-to-it task. Blocking two to four hours on a weekend - roughly aligned with daylight saving time changes or school-year transitions - makes the habit automatic rather than reactive. Consistency is what separates a working system from a perpetual intention.
What You'll Need Before You Start
Gather your tools and confirm your storage space before beginning. Attempting a swap without adequate containers or a clear staging area usually results in items piling on beds, floors, and chairs for days.
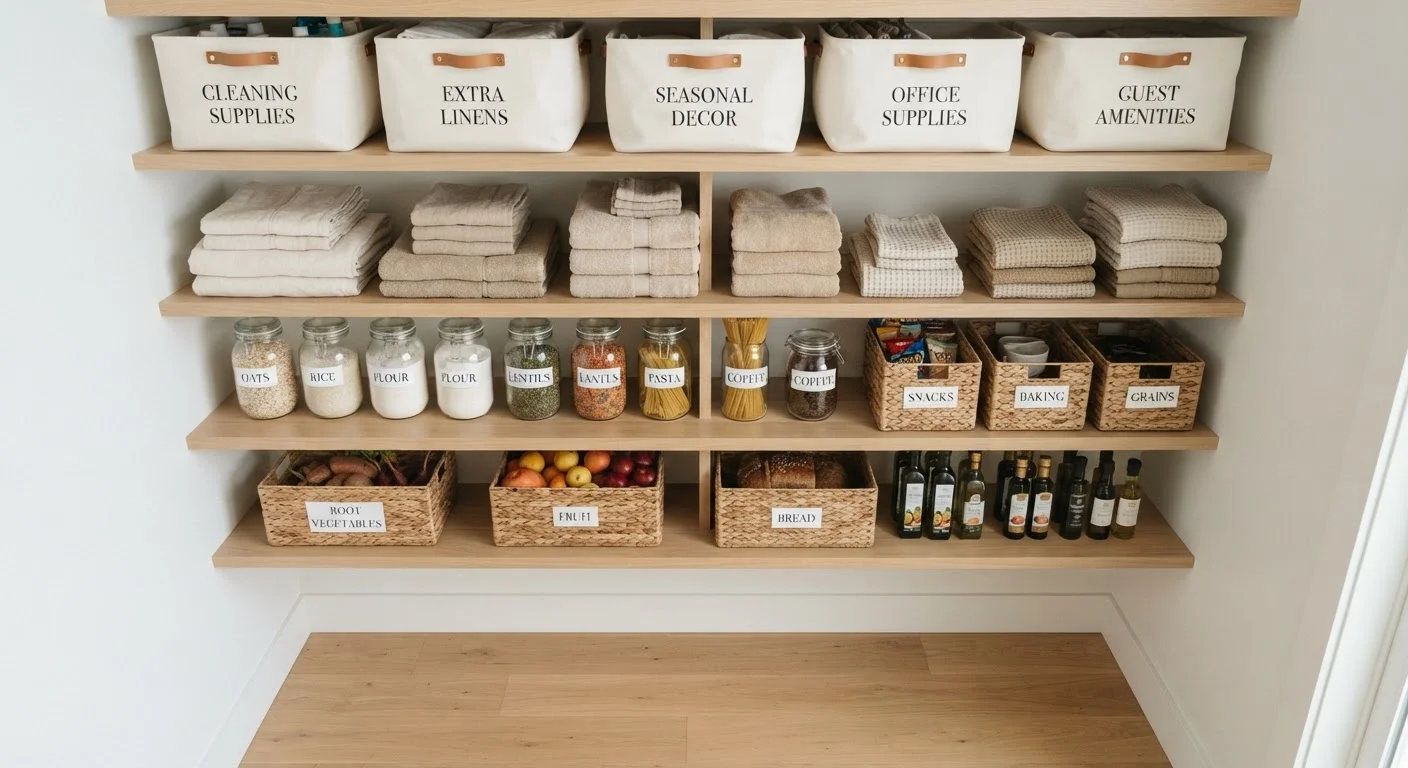
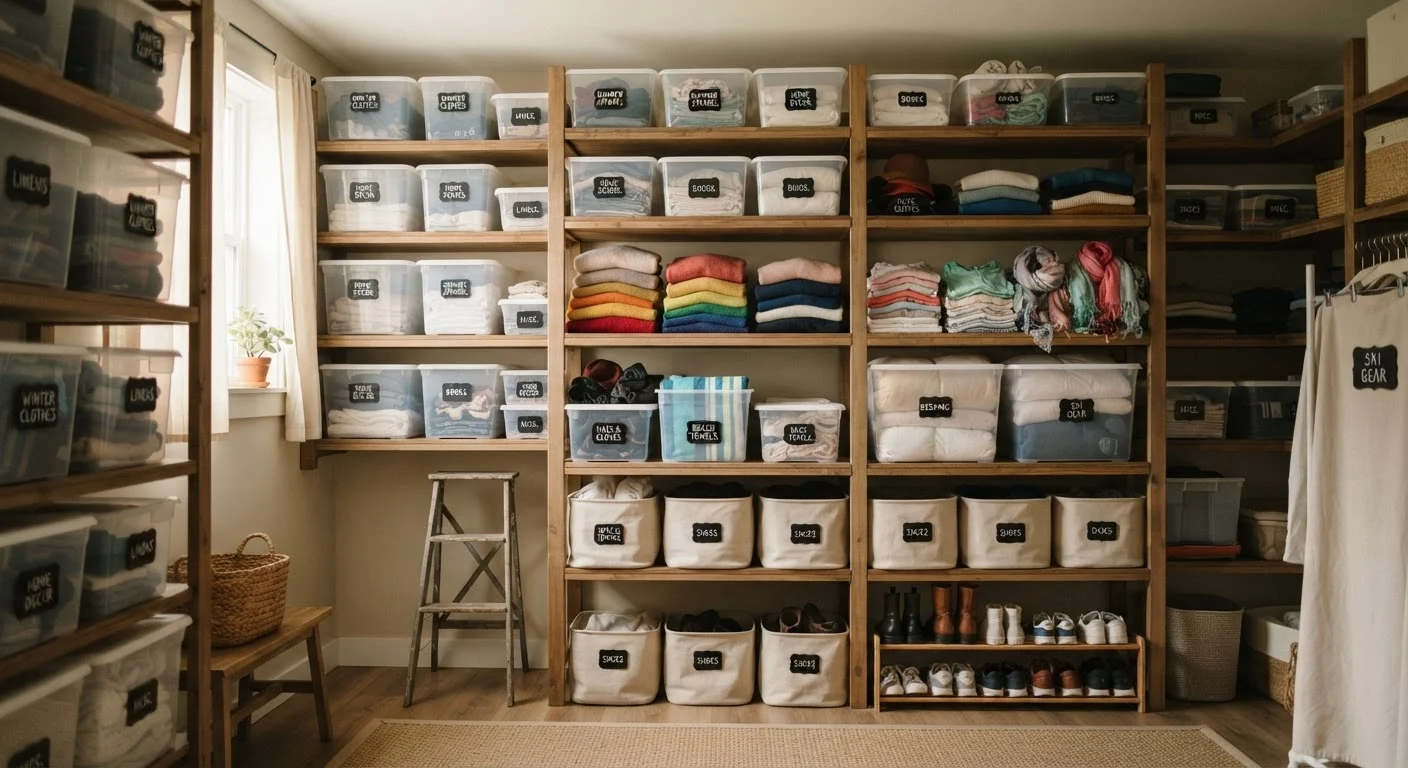
Uniform storage containers
Stackable, same-sized bins make the most of vertical space and simplify retrieval.
Label maker or weatherproof labels
Clearly identifies contents by category and season without opening each container.
Inventory list (paper or digital)
Tracks what is stored where, reducing the time spent searching during the next swap.
Garment bags
Protects out-of-season clothing from dust and pests while allowing fabric to breathe.
Furniture dolly or hand truck
Moves heavy storage totes or gear bins safely without straining your back.
Cedar blocks or lavender sachets
Natural deterrents that help protect stored clothing from moths without chemicals.
What you will need
If your household includes multiple people with different organizational habits, a brief conversation before the swap - about what goes where and who handles which category - prevents duplicated effort and miscommunication mid-project. The guide to organizing shared spaces offers practical strategies for households with varying tidiness styles.
Step-by-Step: The Rotation Process
Follow these steps in sequence. Skipping the staging or assessment steps is where most rotations go sideways - resist the urge to shortcut directly to packing.
Set Up a Staging Zone
Before pulling a single bin, clear a temporary staging area - a spare bedroom floor, a cleared dining table, or a clean hallway section. This physical boundary prevents incoming and outgoing items from mixing across your living space and gives you a controlled workspace. Everything being swapped out goes here first; nothing gets permanently relocated until you've reviewed it.
Pull Out Everything From the Incoming Season
Retrieve all containers for the season you're transitioning into - whether that's winter coats, summer gear, holiday décor, or gardening tools. Open every bin and do a quick condition check as you go: look for mildew, pest damage, or broken items before anything gets placed back in active use. This review step is easier to skip than it is to regret.
Assess and Edit the Outgoing Season's Items
Work through the items you're putting away with three outcomes in mind: store, repair, or remove. Items that are damaged, no longer fit, or haven't been used in a full year are worth removing now rather than storing again. If you're newer to the process of editing your belongings, the foundational decluttering guide covers the mindset and decision-making framework in depth.
[important_callout]Clean Items Before Storage
Never store dirty items. Stains set over months, food residue attracts pests, and moisture trapped in unwashed fabric causes mildew. Wash or dry-clean clothing, wipe down gear and tools, and clean décor items before placing them into containers. This step feels optional until you open a bin next season and find a problem.
Pack, Label, and Log
Place cleaned, assessed items into your containers. Group by category and season - not by who they belong to if that can be avoided, as category-based organization is easier to navigate quickly. Label each container on the side facing out with season, category, and a brief contents note. Then log the container in a simple inventory list - a handwritten notebook, a notes app, or a shared document all work equally well. This log is what makes retrieval effortless and prevents "I forgot I had that" situations.
[warning_callout]Return Items to Storage Strategically
Place the containers you'll need soonest - next season's items - at the most accessible point in your storage area. Push the furthest-away seasons to the back or highest shelves. Within a category, keep heavier containers at floor level and lighter ones elevated. This spatial logic cuts retrieval time significantly when the next swap comes around.
Do a Quick System Audit
Now that the swap is complete, take five minutes to note what worked and what didn't. Are there categories that consistently overflow? Items that got stored but never used? Storage areas that are genuinely full versus areas with unused capacity? This brief reflection feeds directly into a more honest system next time - and pairs well with a broader annual review. The annual home organization audit checklist offers a room-by-room structure for exactly this kind of assessment.
Once this system is in place for a full year, it becomes nearly self-sustaining. The one-in-one-out rule and other long-term habits complement this kind of rotation system well, maintaining the gains you make each season between major swap-outs.