

Key Takeaways
- Drywall damage ranges from nail pops and hairline cracks to fist-sized holes, each requiring a different repair approach.
- Most repairs need joint compound, sandpaper, and primer - tools available at any hardware store.
- Allowing adequate drying time between compound coats is the most commonly skipped but most important step.
- Texture matching is the trickiest part of any patch job - practice on cardboard first.
- Structural or electrical concerns behind the wall mean you should stop and consult a licensed professional.
What you will need
Understanding Drywall Damage Before You Start
Drywall is durable but not indestructible. Everyday stresses - settling foundations, seasonal humidity swings, physical impact, and aging fasteners - leave their mark in predictable ways. Knowing which category your damage falls into shapes every decision that follows: which materials to buy, how much time to set aside, and whether a DIY repair is appropriate at all.
Stop If You See Wiring or Water Damage
If you open a wall and discover water staining, mold, or electrical wiring near the damaged area, do not proceed with a cosmetic patch. Water intrusion must be traced to its source and resolved first, and wiring should only be handled by a licensed electrician. Patching over these issues traps moisture or creates fire hazards.
Most cosmetic drywall repairs are well within reach for homeowners who are comfortable with basic tools and patient enough to let compound dry properly between steps. The biggest mistakes aren't technical - they're rushing the process or skipping the prime coat. For context on when a project crosses into professional territory, see our overview of DIY vs. contractor tasks.
What you will need
Step-by-Step Repair Instructions
Work through the steps below in order. Even if your repair is small, don't skip the diagnosis step - a nail pop sometimes signals a deeper moisture problem, and a crack along a doorframe may point to structural movement rather than simple settling. If you suspect the latter, review what to check before altering any wall before proceeding.
Pre-mixed Joint Compound
Fills, smooths, and feathers repairs of all sizes into the surrounding wall surface.
Drywall Knife Set (4", 6", 10")
Applies and feathers compound at different stages; wider knives are used for finish coats.
Sanding Sponge or Sandpaper
Smooths dried compound between coats and before priming.
Self-Adhesive Mesh Patch
Bridges medium-sized holes (up to about 6 inches) without cutting new drywall.
Drywall Primer
Seals the repaired surface so finish paint adheres evenly without flashing.
Utility Knife
Scores and cuts drywall cleanly when replacing a section for large hole repairs.
Diagnose the damage and choose your repair method
Before touching a tool, determine what you're actually dealing with. Nail pops appear as small bumps or cracked paint circles caused by fasteners backing out over time. Hairline cracks along seams or corners are usually settling-related. Small holes (up to 1 inch) from hooks or anchors need only compound. Medium holes (1-6 inches) need a backing patch. Large holes (over 6 inches) require a cut-in drywall replacement piece.
Fix nail pops and hairline cracks
For nail pops, drive the offending fastener slightly deeper with a hammer so it dimples just below the surface - don't break the paper face. Drive a new drywall screw 2 inches above and below it to re-secure the panel to the stud. Fill all dimples with compound, let dry, and sand smooth.
For hairline cracks, widen the crack slightly with a putty knife to give compound something to grip, then apply a thin coat of compound and embed fiberglass mesh tape over it. Feather a second coat over the tape once dry.
Patch medium holes with a mesh or California patch
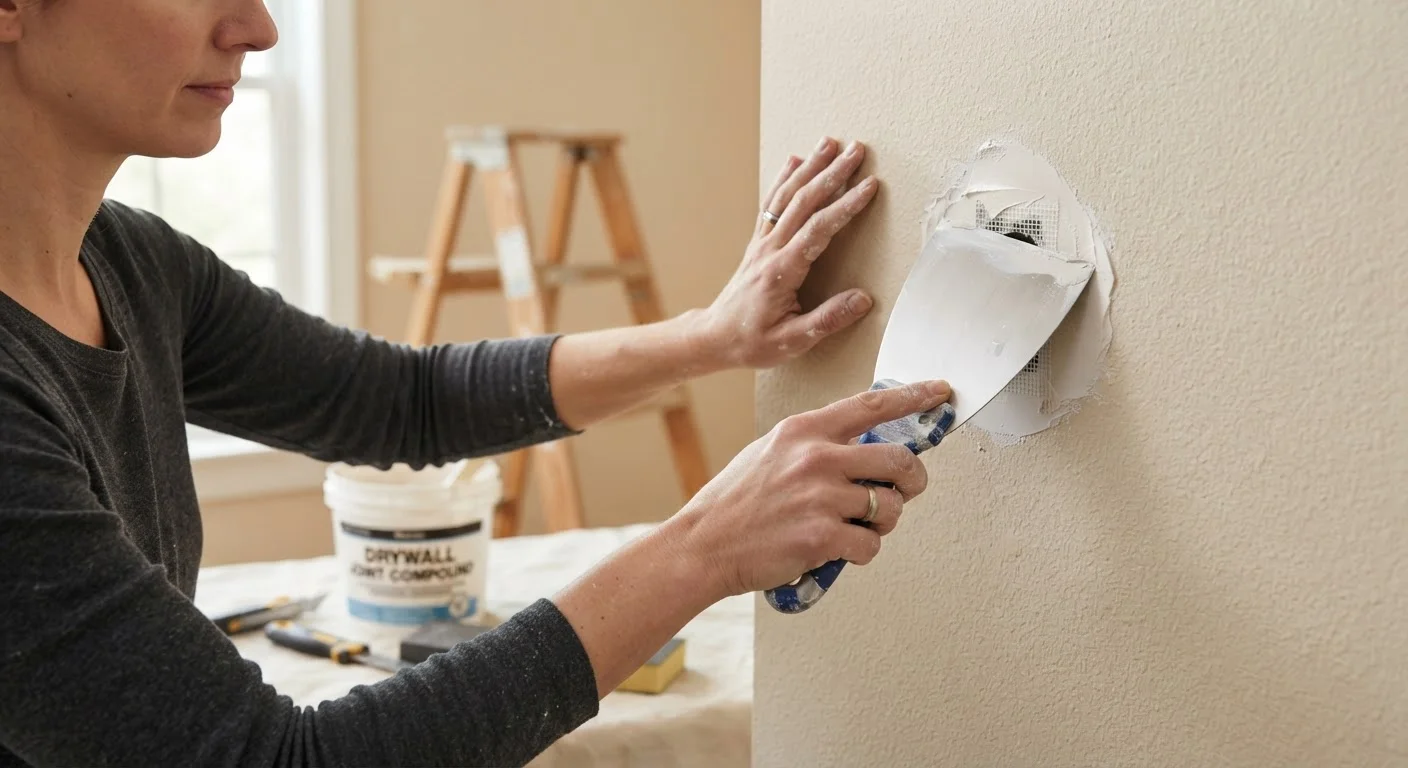
For holes between 1 and 6 inches, a self-adhesive mesh patch is the fastest approach: peel and stick it centered over the hole, then apply two to three coats of compound, feathering each coat wider than the last. Allow full drying time (typically 24 hours per coat, though low-humidity environments may dry faster).
Alternatively, the California patch method uses a piece of drywall slightly larger than the hole, with its paper face kept intact on two sides to act as its own tape. Score and snap the backing off the edges, slip it over the hole, and embed the paper flanges into compound.
Replace large sections of drywall
For holes larger than 6 inches, cut back to the nearest studs using a utility knife and drywall saw. Locate studs with a stud finder, then draw cut lines so your opening is centered on a stud on each side - this gives your replacement piece solid fastening points. Cut a replacement piece of matching drywall thickness (most interior walls use ½-inch; ceilings often use ⅝-inch).
Secure the patch with drywall screws every 8 inches along each stud edge. Apply joint tape over all seams, then build up two to three coats of compound, sanding between each. See our guide on splitting DIY and contractor work if the area is large or the repair feels beyond your comfort level.
Sand, prime, and paint
Once your final compound coat is fully dry, sand with 120-grit paper to knock down ridges, then finish with 220-grit for a smooth surface. Wipe away dust with a damp cloth and let the wall dry completely. Apply a coat of drywall primer and allow it to cure before painting.
Match the existing wall texture as closely as possible before painting - options include stippling with a sponge, using a roller with the right nap thickness, or applying spray texture for heavier orange-peel or knockdown finishes.
Feather Your Edges for an Invisible Patch
The secret to a seamless repair is extending each coat of compound well beyond the previous one - a technique called feathering. Spread the outermost edges as thinly as possible so the patch blends gradually into the surrounding wall. A 6-inch knife for the first coat and a 10- or 12-inch knife for subsequent coats works well.
Don't Skip the Primer Step
Applying paint directly over joint compound without primer causes uneven sheen - a blotchy effect called 'flashing' - that's visible even after the paint dries. Always prime patched areas before applying finish paint, even if the surrounding wall won't be repainted.